In this assignment, you will work together with another class member and create an internet-connected device that displays interesting information relevant to your life.
Note the date and time for presentations are not the usual class time!
Learning objectives
The goal of this assignment is for you to start integrating your learning to conceive of and create a more open-ended project from scratch. You’ll be using the internet functionality of your Photon (finally!) and your electronics and fabrication skills to make an ambient display.
Ambient displays
We discussed these in class, but as a refresher: an ambient display is some kind of a display that exists on the periphery of your awareness. Just as you have an idea of whether it’s raining by the sound outside, or when classes change by seeing people walking by, an ambient display uses non-intrusive mechanisms to give you awareness of some kind of digital information. See Inspirations and Papers about ambient displays below for some examples.
Groups
This is a group project! You will work in groups of two. I will assign groups based on your input. What does this mean? You will, by the date below (see Deliverables), send me a private Slack message that contains:
- A list of the people in the class whom you particularly want to work with, and reasons why.
- A list of the people in the class whom you particularly do not want to work with, and reasons why.
- Or, if there is nobody who you want to work with, and nobody who you don’t want to work with, a message stating this.
I will form groups based your feedback. I will not discuss the reasons for my decisions with you at all. You will never know why I formed the groups I did.
See below under Group requirements for more information about working in teams.
Deliverables
See the notes below for details on each deliverable, including how to turn them in, as well as grading criteria.
- A proposal for the assignment.
- An in-class demo of an attractive ambient display that visualizes a source of online information that is relevant to your life.
- Documentation in the form of an Instructable explaining how to recreate your project.
- A well-produced video approximately one minute in length demonstrating your project.
- Every Friday by 5pm, a brief personal report about your group.
What to do
There are multiple steps for this assignment, with deliverable dates!
Goals
Your overall goal is to build an attractive ambient display that visualizes a source of information relevant to your life. Let’s break that down; there are multiple parts here: attractive, ambient, display, information, relevant.
Attractive
The display should be nice-looking. It should be like something that you might have in your home.
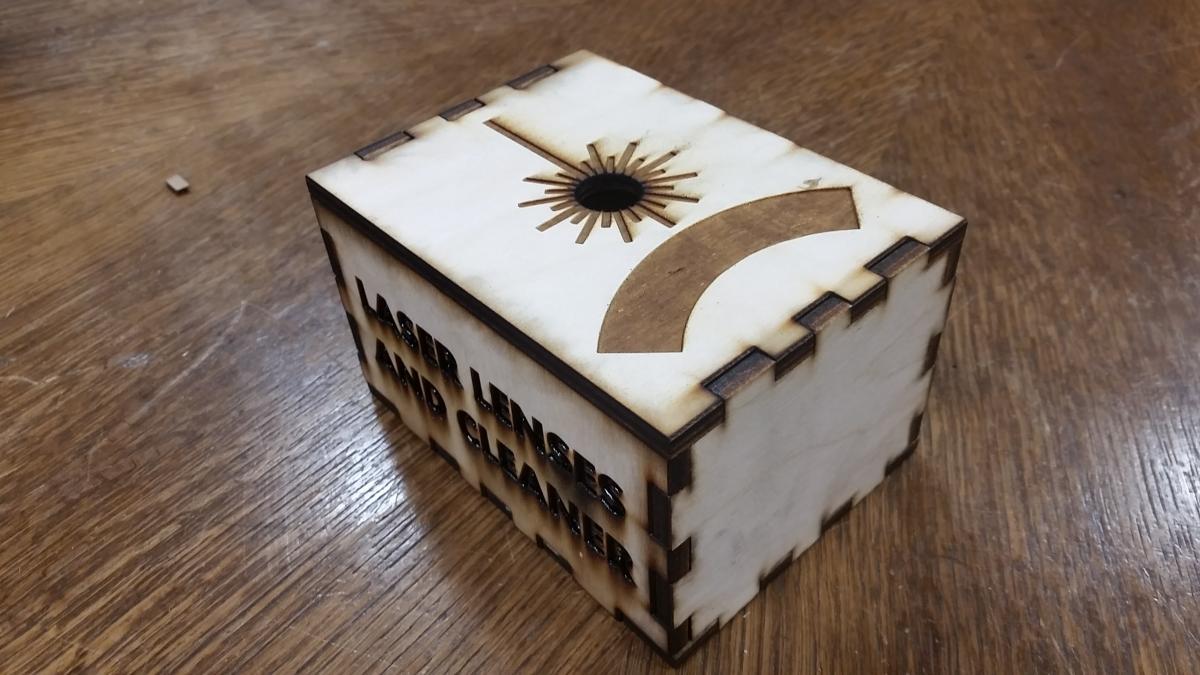
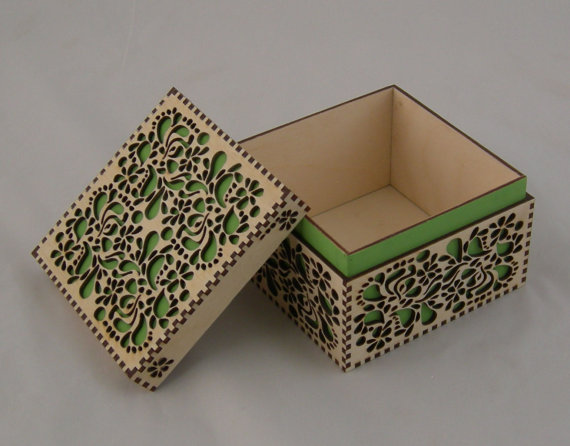
While I know the laser cutter and 3D printers are really convenient, what I don’t want to see is an unfinished box (etc) made on these. For example, this box is not attractive, this box is much better, and this box is really nice. Likewise, these 3D-printed crystals have a creative shape but are not very nice looking; this box although simple, is much nicer looking; and these turtles and this soap holder are well-designed and attractive.
A really good way to to make a nice-looking project is to incorporate the display into some existing object. The 1979 Bang & Olufsen Raspberry Pi Internet Radio is a really nice example of this idea taken to an extreme.
The display should not be obviously digital. Using three LEDs that light up to show different things is bad. Using a whole bunch of LEDs that shine to light up a section of the wall in different, subtle patterns with a nice color of light (for example) is much better.
Ambient
An ambient display does not directly display information. For example, if you’re interested in the exchange rates between Yen, Euros, and Dollars, an ambient display would not show the values as numbers, but perhaps as water levels in a fountain. A user should be able to interpret the information, but it should be more abstract than a direct display.
However, there should be a clear mapping beween the information and the display, such that you could explain it to someone and they could understand it.
Display
The display doesn’t have to be visual—it can be auditory, for example, olfactory, touch-based, or some combination of the above. Think about motion, state change, subtle sounds, water, etc. Be creative!
Information
You should get information from some source on the internet. If you want to make that source yourself by hooking up a sensor somewhere, go for it! Otherwise, find something out there. Many, many services have APIs that you can use for different things; ProgrammableWeb has a huge API directory you can browse through (though note that many of these are not suitable for ambient information).
Relevant
Finally, the information should be somehow relevant to you and your life. For example, I’m not going to be entirely convinced if you create an ambient display that visualizes the traffic in central London.
Proposal
Your team needs to turn in a proposal for your project. It should be a well-written document, in PDF format, 2–3 pages long, consisting of:
- Project title
- Project idea, including motivation
- What information you will visualize and how you will get it
- Plan of attack with weekly milestones, including equipment acquisition plans
- What hardware resources you need and how you plan to get them
Check-ins
Each Thursday during class, each team will very briefly report on their progress, including what they have done in the previous week, any problems they’ve encountered, and what they plan to do for the next week.
Important dates
| Date | Deliverable |
|---|---|
| Fri 11/3 | (2pm) Team member selection message to me |
| Thu 11/9 | Project proposal |
| Fri 12/15 | (12:30pm) Final presentations, deliverables due |
Grading
This project is worth 40% of your final grade. That amount will be divided as follows:
- Project proposal:
- Contains the requested information (8%)
- Is well-written, organized, and grammatical (2%)
- Build an attractive ambient display that visualizes a source of online
information that is relevant to your life:
- Is a working ambient display: (25%)
- Is attractive: (10%)
- Note: attractive is subjective, but I’m going to judge it. Consider using extra materials beyond 3D printing and laser cutting; using “finishing” techniques such as sanding and painting; using fabric; or encasing your project in a manufactured object.
- Uses online information: (8%)
- Is relevant to your life: (2%)
- There should be a clear mapping from the information to the visualization, such that you could explain the display to someone and they could understand it. (7%)
- The display should be nice looking/sounding/feeling and not
obviously technological in nature. Ideally the output will happen in
a creative, non-obvious way. For example, if it’s based on light,
showing a graph with LEDs is obvious (see Inspirations
below). (13%)
- Note this is different from “attractive” above.
- Your documentation (10%) should include:
- A description of the display, including pictures,
- what choices you made for the information to display and the way you displayed it,
- source code and 3D/2D model files,
- a short (~1m) video showing your display in operation
- please ensure that you shoot your video in landscape orientation
- please edit your video so it is interesting to watch
- Group participation
- You turn in the required group report by 5pm every Friday (5%)
- You have participated fully as part of your group (10%)
Group requirements
Each person in the group must do both technical and design work.
While I recognize that there are a variety of strengths in different areas, each student in the class has worked very hard to make progress in understanding the skills we’ve learned, and I want to see evidence of that progress from each person.
In order for me to be able to gauge this progress, at the end of each week, by Friday at 5pm, each group member will send me a private Slack message that lists the following:
- what you personally have done technically on the project during the preceding week;
- what design contributions you personally have made to the project during the preceding week;
- what your team mate (or mates) has done technically and design-wise on the project during the preceding week;
- and any problems you are having
- with your team,
- with your project,
- technology,
- anything else.
Tips
How to make good Instructables
I want your Instructable to be good! Here are some links to help; they are all similarly named but have somewhat different information:
- How to Make a Great Instructable
- Another How to Make a Great Instructable
- How to Write an Instructable
How to use your Photon with the internet
Follow the instructions at Particle’s Connecting Your
Device.
If you’re at home, your wifi setup should (probably) be easy. If
you’re in the lab (and you should be!) it will be more irritating.
First, you’ll need to do the connection instructions with particle
serial wifi. Connect to the RIT-Legacy network (note that the
name is case-sensitive!). You won’t be able to actually do anything,
though, until you register your Photon. Next, go back into Listening
Mode
and type particle serial mac. You’ll get a MAC address (not related
to Macintosh). Copy this, then visit
start.rit.edu/Computers and click
on “Advanced Registration”. Then paste in the MAC address and go
through the prompts. If it didn’t work, let me know the error message
and the MAC address.
Now you should be ready to program. Remember to take out the
SYSTEM_MODE(MANUAL) line so your Photon can get on the internet.
You might want to test out some of Particle’s code examples.
Information on using the Photon itself with the internet can be found in the Firmware documentation; generic information on communicating with the Particle Cloud via your computer is in the Cloud API documentation. However, you probably will want to use Javascript, so read about that in the Particle API for Javascript docs. There are APIs for other languages listes here, and you can find others by Googling (e.g., Python).
Inspirations
Here are some examples of projects I found on Instructables, with some comments. Note that most of them are not ambient displays, but contain parts that I think would be suitable for an ambient display, or otherwise illustrate something I think is cool.
- Ambient temperature tapestry: This is a pretty good example of what I would like to see out of a class project. It’s nice looking and it shows useful information. It doesn’t connect to the net, and I would like it better with some less-obvious lights.
- Mechanical music box: It’s not an ambient display but could be one. I particularly like the warm appearance and how it uses mechanical parts to make sound rather than a speaker.
- Vibrating mirror: This mirror has nine little circles that can vibrate independently, distorting the image. This very neatly falls into the enchanted object paradigm.
- NeoWeather: This project uses a ring of RGB LEDs to indicate various things, including the weather or package delivery status. I like its ability, but it would lose points for this assignment because it’s very technological-looking and the output is pretty obvious—just LED lights.
- Lego Mets home run indicator: When the Mets have a home run announced on Twitter, the apple pops up! This is only semi-ambient, as it’s really a binary display. I’d like to see a version that somehow includes a subtle indication of current score.
- Twitter mood light: Indicates the current overall mood of Twitter via light. I’d like it even better if the display was less LED-ish looking.
- Tweiger counter: A “Twitter Geiger counter” which searches Twitter for particular words and makes a clicking sound, so you have an idea of the “density” of tweets on a particular subject. It also has a meter. This project would get an A.
Papers about ambient displays
- The Coming Age of Calm Computing
- Heuristic Evaluation of Ambient Displays
- A Peripheral Display Toolkit
- A taxonomy of ambient information systems: four patterns of design
- A Matter of Taste
- Designing Glanceable Peripheral Displays
- Ambient Influence: Can Twinkly Lights Lure and Abstract Representations Trigger Behavioral Change?
Attribution
Many of the links to existing ambient displays, as well as some of the specifics of the assignment, came from Assignment III of Intel/CMU’s Designing for the Internet of Things course.